Hello friends!
If you’re not familiar with trading or programming perhaps you’ve heard of Zerodha Kite API. Zerodha Kite API.
Don’t be scared by the term “API” — it simply refers to the word “API” means a tool that allows you to link your trade account to bots, applications or even your own strategies.
This blog will go over the process step-by-step (like the recipe ) that you can make it easy to set up.
What is Zerodha Kite API?
Before we begin the configuration, let’s know what Kite API actually means.
Zerodha Kite API Zerodha Kite API is an effective tool that allows developers and traders to link their software directly to Zerodha. Zerodha trading platform..
Imagine it as the equivalent of a bridge that lets your apps, scripts or programs connect to Zerodha and perform actions like:
Orders can be modified and placed in the place of others.
Get market information in real-time
Make sure you review your portfolio and investments
Automate various trading tasks
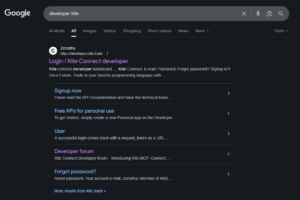
Step 1: Sign Up on Kite Developer Portal
Visit the Kite Developer’s website.
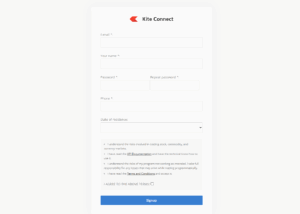
Click Sign Up.
Make use of this the same ID for email that is linked to your Demat account..
Create an secure password .
Enter to your registered mobile number.
That’s it! You’re now inside the Developer Portal.
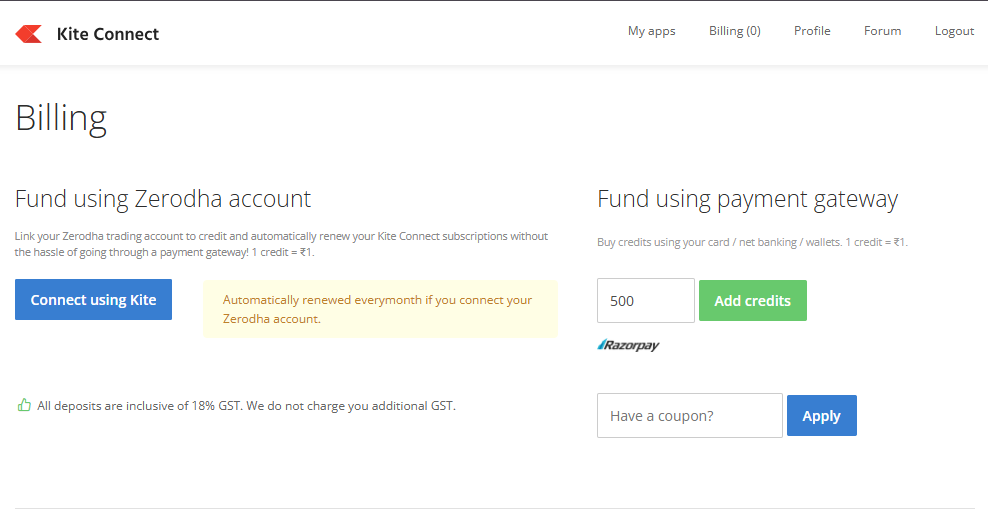
Step 2: Go to Billing Section
After login, visit Kite Connect and then Billing.
There are API subscription fee here.
At present, it’s currently Rs500 per month (but always verify for the latest costs).
Select Connect with Kite This connects your Kite Connect to the Demat account you have. Demat account.
Pay the fees.
After completion your subscription will be active .
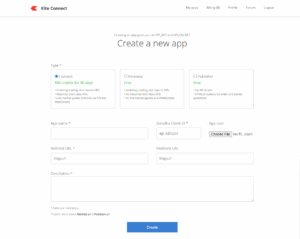
Step 3: Create a New App
Click Create New App.
Input Your app name (can be any word, just like the name of your account).
Add your Client ID.
On the Redirect URL Copy this code:
https://www.google.com/
(This is only a placeholder -you are able to change it in the future if you want to.)
The description should you should write something as simple as “Trading Automation App”.
The app has been created .
Step 4: Confirm & Generate API
Tick I UNDERSTAND.
Click OK.
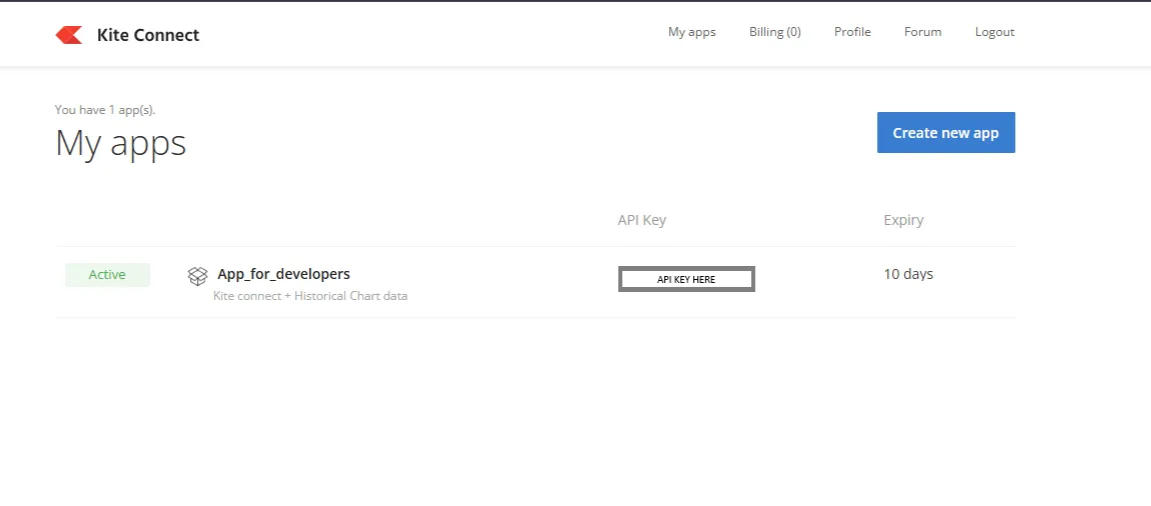
You’ll be able to instantly receive the Access Key API as well as your the API Key.
Be sure to save and copy the files in a secure manner as you’ll require them each time you trade with the API.
Final Notes to Remember
Secure your API Secret, Key Access Token secured .
Access Token expires daily – you must regenerate it every trading day.
The cost for subscription is per month and you need to renew to use the API.
After everything is in place Once everything is set up, you can begin the process of building:
Trading bots
Automatization tools
Custom trading strategies
Conclusion
That’s all there is!
If you follow these easy steps, you will be able to make the Zerodha Kite API and begin your journey towards automating trading.
Do not fret if you’re not an expert in programming — having a basic understanding of the subject will provide a wealth of opportunities for you.
Be aware that the API gives to your account for trading powers.
Be aware that the API gives to your account for trading powers.

